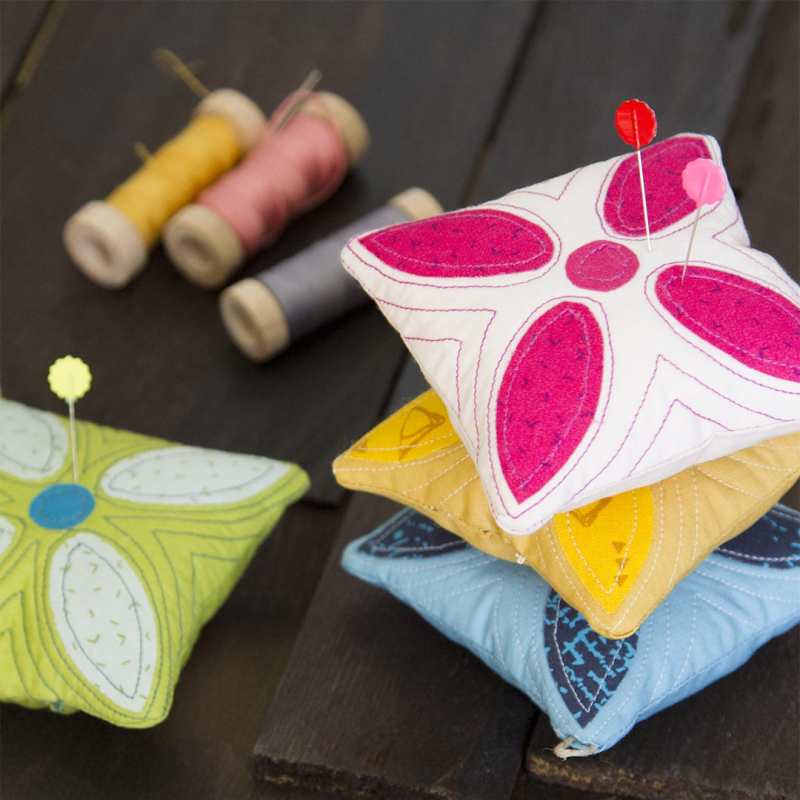
Welcome back, fabric friends!
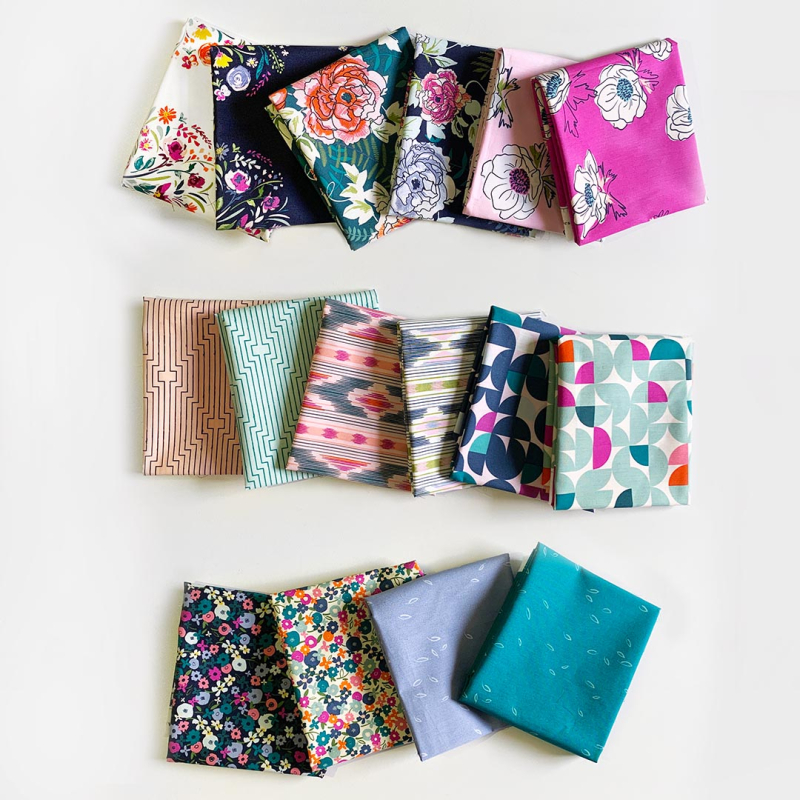
I just want to quickly say thank you for everyone’s kind comments and feedback on my last blog post, Matching Fabrics Part 1: Color, it makes me so happy that you found it helpful. Which brings me to today, with PART 2, talking all about scale on fabric. Now you may ask yourself, why does the scale of each print matter? Well, you have to think about it like colors, the busier a print is, the more dominant color will be visible, which means you have to visually balance it with another fabric print that complements it. In every AGF collection, there’s always a good balance of scale, for example below, we have Trouvaille, separated from large, medium, and small prints.
Whether you have a full collection or not, It’s important to learn how to differentiate each fabric print in order to choose how to use them together. So, I broke it into categories below with some pictures to help!
Large scaled prints
 * Featuring collection: Dew & Moss, Her & History, and Enchanted Voyage.
Ok, starting off with the largest scaled prints, which I would consider the “main star” of the show! It’s usually the print in the collection that tells a story, the print that makes the loudest statement, or in simpler terms, the design or design group that measures about 5 inches or bigger. These prints are great when used as the focal point of the quilt block, and in order for them to stand out it’s best to sew with them with blender fabrics, or smaller scaled prints to create a contrast. Check out the example below!
Medium scaled prints
 * Featuring collections: Hello Sunshine, Oh, Meow, and Spooky ‘n Sweet.
Now to talk about medium-scaled prints, and I will admit this is a little more complicated to point out, but here are a few tips to help you. First, consider all the prints you are working with, is this print smaller than “main” print and is it larger than the blenders? This is the best way to point out the difference, it’s all relative to the largest scale print! Most of the time these prints usually have a very simple repeat, meaning they are very evenly spaced out or clustered together but not so much that you can’t identify the print from far away. Medium scaled prints are great for fussy cutting smaller shapes like squares or hexies! Use them for a pattern that requires small pieces larger than 2 inches, or sew them together with the larger scaled prints.
Small scaled prints
*Featuring collections: Pacha, Meriwether, and Rosewood Fusion.
Last but not least, the easiest print to identify is the small-scaled prints! These prints act as blenders, they have very minimal designs, the repeat itself usually smaller than an inch, and in many cases just as important. Blender fabrics are great because they are non-directional prints, meaning you can cut them in any direction and it won’t affect how the pattern looks. This is a great advantage when sewing with fussy cut prints and large prints because it won’t distract the viewer from the main designs! These fabrics are best used when you are working with small pieces or heavy patchwork patterns because you won’t be losing any design elements but still keeping the texture that solid fabrics can’t provide. For example, whether you are doing some applique or reverse applique, these small-scaled prints would be ideal to show off the cutouts.
Now, who's to say you can’t use these prints by themselves! It’s all about balance. It depends on the pattern you’re working with, finding what may appeal to your eye. Large scaled prints are great for the backing of quilts, and if you want to cut it to smaller pieces because you like a certain element, do so! Even with small-scaled prints, if you pair them with some solids, you can change the game and make them the star of the show. At the end of the day, do what makes you happy and listen to what the fabrics are telling you to do.
Fortunately, I am surrounded by creative people every day and I’ve gained so much knowledge after seeing the beautiful projects that are being made right here at the office. I hope this information is useful to you and it can help the next time you’re standing in front of your fabric stash. Stay tuned in a few weeks I will be writing a Part 3, all about BLENDERS!
Until next time,
Happy sewing!
– Jannelle


Leave a comment