Hello makers,
The last few days, I’ve decided to tackle something I never thought I would try (at least by myself)… sewing on the sewing machine. As a kid, my grandma loved to sew but she never used a sewing machine, everything she ever did was by hand, and she passed those skills down to me. Growing up, she would have me sit next to her on her bed, set down a pile of socks, shirts, pants, anything with holes, and have me sew up the holes to practice. I really enjoyed that time with my grandma, it was more than just sewing but it was all the stories she would share with me. Thanks to her, I could really appreciate the industry I work in and it gave me that extra courage to try to learn more than just stitching up holes on socks.
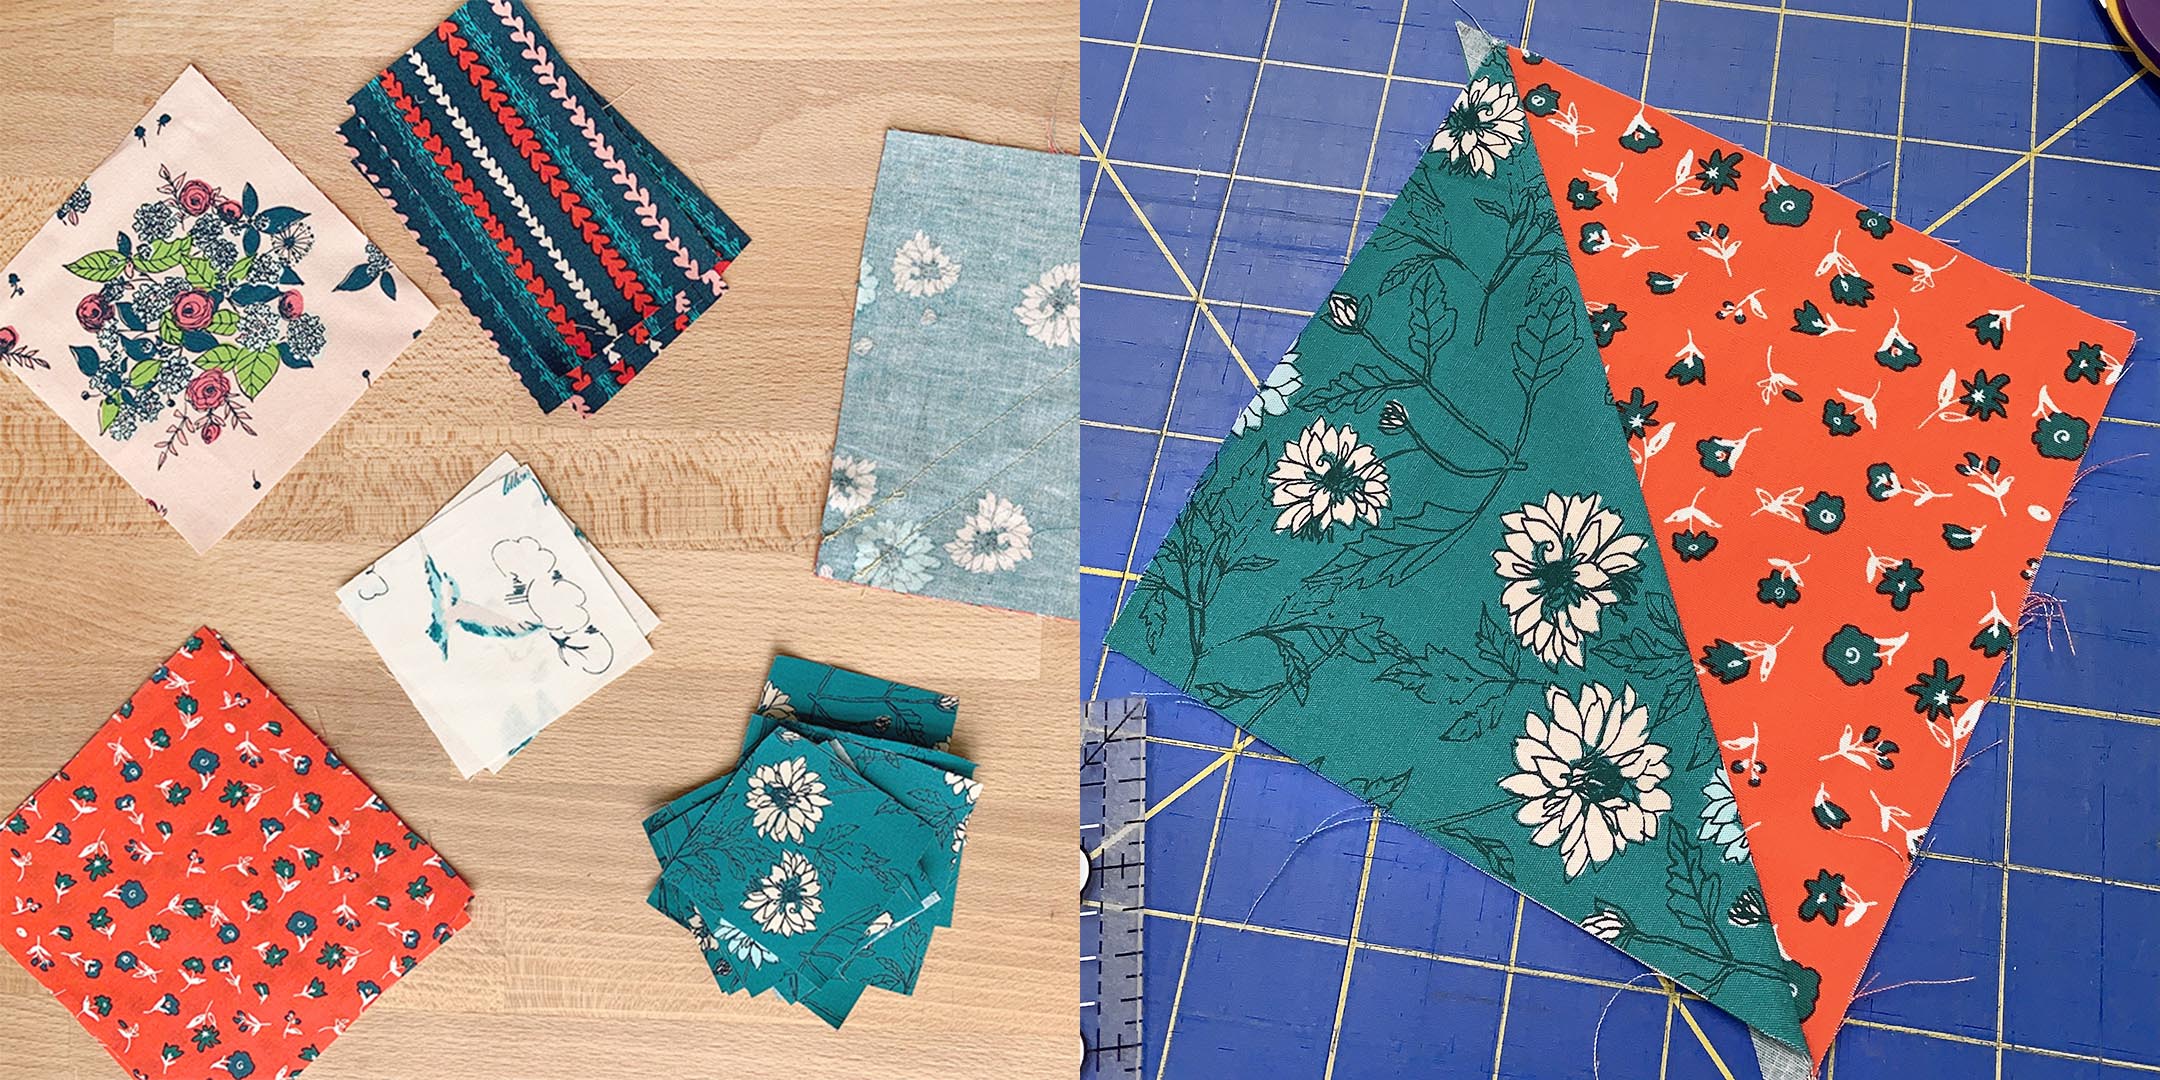
When I first started working here, “Meli” from our Production Team suggested a great idea to have everyone in the office to join the Community Sampler Sew-a-long, and with her assistance, I used a sewing machine for the first time and made a pretty good, half quilt block (if I say so myself!) This past weekend, while the girls went to Quilt Market, I was taking some lovely pictures of Sharon Holland’s latest collection “Everlasting,” and I thought it would be a great idea to have some pieces cut and laid out for a picture. My first extinct was, let me watch a YouTube video of our #AGFQuiltBlockCollection, so I know what sizes to cut out for this picture. As I cut the pieces I said to myself, “I’ve gotten this far, let me just try to sew the pieces together!” I checked the sewing machine and luckily it was already set up…I knew this was a sign to just go for it.

Here’s what began as a quick 30-minute project, to a 3-hour project. I cut out all my pieces keeping in mind what Meli told me the first time I did a quilt block with her, that I need to square up my pieces before I start. Then the part I was dreading, sewing the pieces together… I sewed my first HST and I was pretty proud of it! Perfect ¼ inch seam allowance- I gained some confidence!

Sewing straight lines were clearly my downfall, but the more I did it, the better I was getting at it. At this point, I was really happy with what I had on the table. I even did some chain piecing!!

Things started to get a little wonky when I had larger pieces, as my ¼ seam allowance started to become a little more than it should have been. Let’s just say the seam ripper and I had a lot of time to get to know each other!

By the time I started laying out my pieces, my mistakes were really showing but I was impressed at myself that I had gotten this far. One really important thing I realized while putting the pieces together was that I found myself really trying to match the edges instead of matching the seams.

Unfortunately, I noticed this a little too late, as you see above, my first attempt at sewing the rows together…nothing seemed to be lining up. The second attempt, I matched the seams, and it looked much better! Before I knew it, I was done and I was really excited to show the girls my first attempt on sewing a quilt block by myself.

Yes, it took forever, but I learned a lot! Here some key points I learned from this experience:
- Take the time to cut your pieces accurately
- ¼ seam allowance is very important
- Press your seams after every stitch
- Match your seams, not the edges of your pieces
- Label your fabrics, things can get a little disorganized
- Pin. Pin. Pin.
- Layout your fabrics before sewing them together
- Accurately square up your blocks
Lastly, be proud of your mistakes because they only make you better! I know this wasn’t exactly the easiest block (found this out afterward) to sew for the first time but it made me realize what I’m capable of. If you have any tips that I didn’t mention above, please let me know in the comments below. I am happy I did this and I can’t wait to try more things, as I dive into this sewing world. If you’re a beginner sewist like me, I hope this encouraged you to be brave too!
Good luck and happy sewing,
Jannelle


Leave a comment