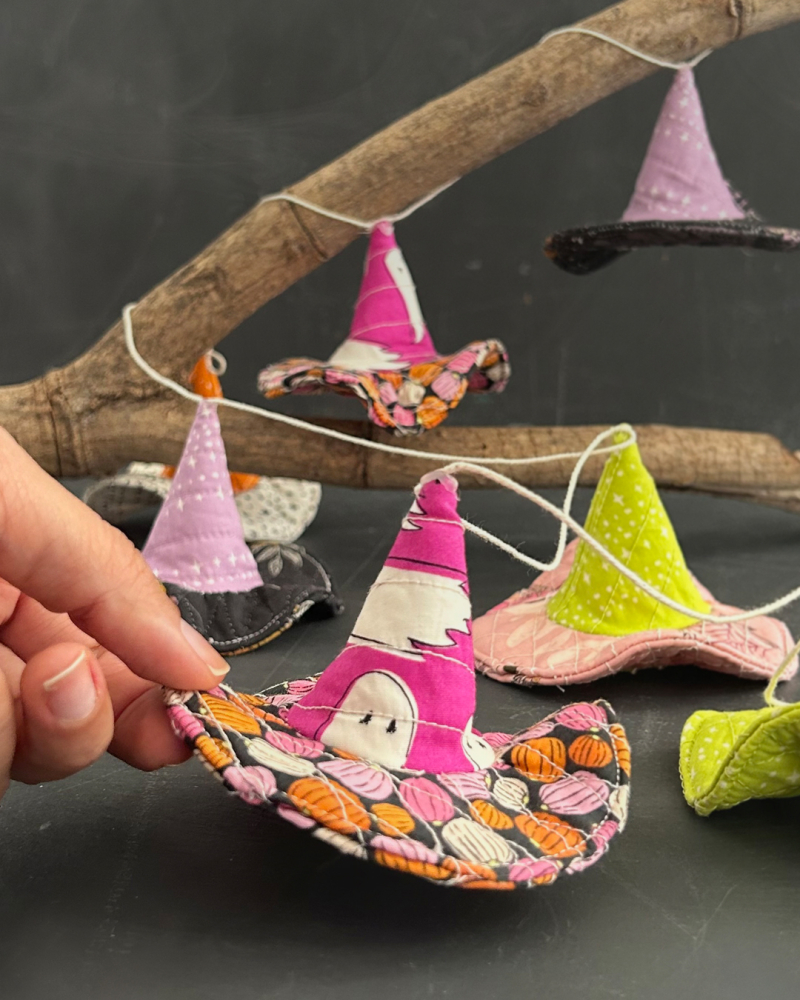
It's that time of the year again! Dust off your broomsticks and polish your cauldrons, Halloween is just around the corner! Get into the spooky spirit with a quick and easy last-minute witch hat garland project with your little ones. These adorable hats are fun to make with fabric scraps or our Fabric Wonders: 10” Square Packs, and they’re perfect for decorating your Halloween festivities!
We’ve whipped up some spooky magic with our 'Spooky ‘n Witchy' premium quilting cotton collection for these adorable little witch hats! Watch our quick how-to-video and download the Little Witch Hats Garland Template for a simple yet enchanting project. It's easier than brewing a potion!
*Featuring fabrics: Spooky ‘n Witchy by AGF Studio
Here’s what you'll need:
- Little Witch Hats Garland Template (download here).
- Fabric Scraps or Fabric Wonders: 10” Square Packs of your favorite Art Gallery Fabrics.
- Thread
- Scissors
- Regular Batting
- Ribbon or twine
- Glue Dots or Glue Gun
Here's how to make each little hat:
- Step 1: Print the template and cut out the witch hat shapes.
- Step 2: Begin by quilting a 5" square from your chosen fabrics and batting.
- Step 3: Trace templates A and B onto the quilted 5" squares.
- Step 4: Sew template A together to create the cone.
- Step 5: Pin the cone and the brim right sides together around the circumference and sew them together. Make two of these using different colors from the collection.
- Step 6: Take two hats with the right sides together, sew them around the brim, and leave a space to turn it inside out. Once it's right side out, sew the opening by hand and top stitch around the brim at about 1/8" of an inch.
- Step 7: Repeat steps 1-6 to create as many witch hats as you need for your garland.
Voila! Just like magic, your reversible little witch hat is done! Now, gather them up to create your Garland Decoration.
**We recommend using regular batting; it's easy to work with, and given the hat's size, extra firmness isn't necessary.
**You can use a dot of glue (glue gun) on the tip of the hat and glue it to a string of twine.
There you have it! A spooky and stylish witch hat garland to hang in your home.
As you dive into this frightfully fun project, be sure to check out our Halloween-inspired collections! We have an array of fabric project lookbooks filled with festive ideas to spark your creativity. From spooky home decor to whimsical costumes and enchanting accessories, there’s something for everyone. If you're a seasoned crafter or just starting out, you'll find plenty of inspiration to make this Halloween truly spooktacular!
Whether you’re making a spooky statement or adding a dash of whimsy to your décor, this Halloween garland is sure to cast a spell. Don’t forget to share your creations with us—we can't wait to see the magical things you conjure up this season!
Happy crafting!
-Your friends from Art Gallery Fabrics


Leave a comment