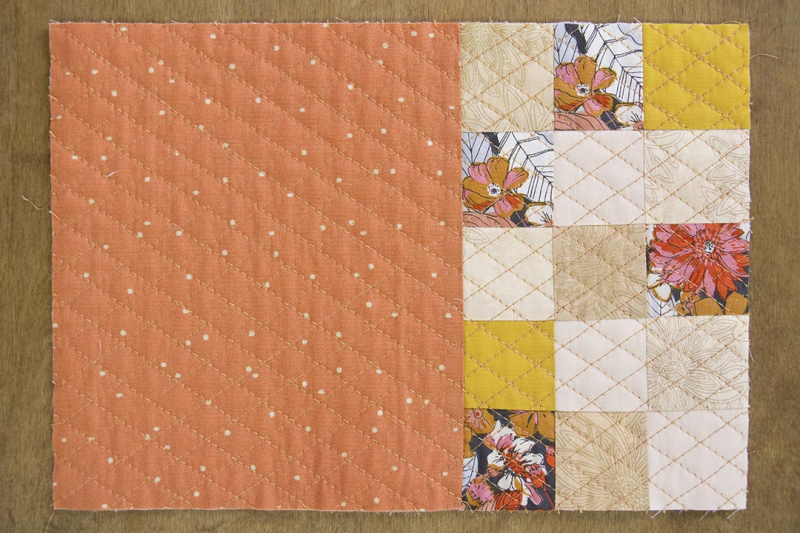
Ah, I can already smell the cinnamon spice in the air! It’s time to snuggle up in your favorite quilt and grab a hot cup of tea, and enjoy a nice Netflix holiday movie! This is my favorite time of year to sew (who isn’t, right?) to sew several small projects in order to make plenty for myself and my loved ones. I’ve noticed that mug rugs are all over the internet and I can totally see why because it checks all the boxes of what I’m looking forward to sewing!
If you have never heard of a mug rug before, it’s a quilted mat that combines a coaster and a placemat to hold your drinks and a snack. The perfect 2-in-1 project that I knew I had to make a unique tutorial for all of you to recreate.
Let’s get started:

I used some nice warm tones for the fall season and used collections like Sharon Holland’s Kismet, our Sparkler Fusion, and Luna & Laurel collection, with a mix of blender fabrics such as our Floral Elements and Pure Solids.
You will need Fat Eighths for all fabrics.
Four (4) 2’’ squares from fabric A.
Two (2) 2’’ squares from fabric B.
Three (3) 2’’ squares from fabric C.
Three (3) 2’’ squares from fabric D.
Three (3) 2’’ squares from fabric E.
One (1) 7’’ x 8’’ rectangle from fabric F.
One (1) 11 1/2’’ x 8’’ rectangle from fabric F.
One (1) coffee template from fabric G.
Join fabrics A, B, C, D, and E squares following the diagrams below.
Take one (1) 7’’ x 8’’ rectangle from fabric F and the assembled piece and join them.
Take a batting piece and quilt as desired.
Take the Coffee Template and place it on top of fabric F. Place it about 1’’ from the left side and about 1 ½’’ from the bottom.
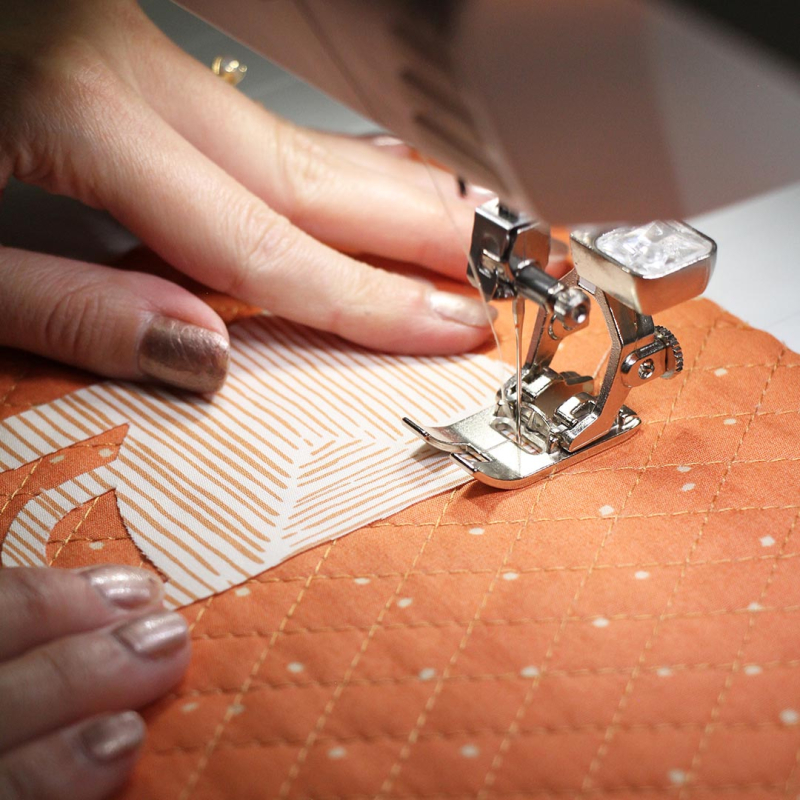
Place steam-a-seam on the coffee template and iron it so it sticks on the mug rug.
Topstitch all around to secure it.
To create the smoke on top of the coffee, use the free motion quilting or hand stitch if you prefer.
Take the backing fabric and place it right sides together.

Sew all four sides leaving about 3’’-4’’ of opening to flip the piece inside out.
Clip your corners, flip your piece inside out, press your piece and close the opening.
And you are done! Enjoy cutting up some squares, appliqueing, and quilting this sweet project! Let me know if you recreate your own version of this by tagging us on social media using the hashtag #artgalleryfabrics, we would love to see it! Also, in the comments below let me know your go-to holiday movie that you'll be enjoying this mug rug on.
Until next time,
Happy sewing!
-Jannelle


Leave a comment