As of lately, I've been getting urges to work on some handmade items that are filled with details! I don't know about you, but sometimes I don't want to create something large, but focus on a project that I can dedicate time to pack as much texture and details as possible. This brings to today's tutorial that I'm really excited to share, these Reverse Applique Flowers that just hit the mark for me creatively. Reverse Applique is the process of stitching fabric on top of each other, cutting the layer above to reveal the fabric underneath. Have fun sewing with the pretty and bright PURE Solids fabric, lots of stitching, cutting with small scissors, and most importantly the creative freedom to add whatever you want to it!
Let's get started!
Fabric requirements:
You can use either fat eighths or scraps of fabrics for this project, customize your flower to your liking or just follow our suggestions to have the same results as in this tutorial.
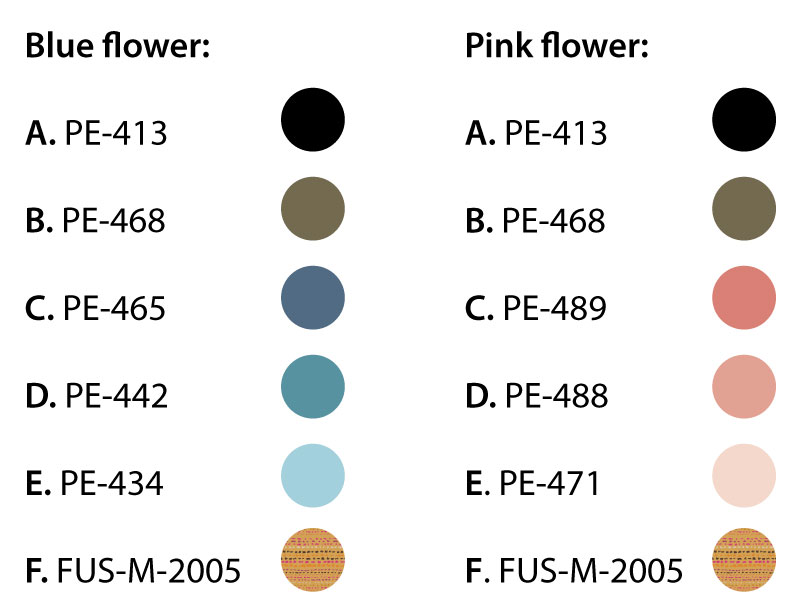
If you decide to follow our suggestions you’ll need six (6) different fabrics for each flower (DOWNLOAD FLOWER TEMPLATE HERE):
- Three (3) different hues of the same color for the petal.
- One (1) color for the stigma.
- One (1) color for the leaves.
- One (1) contrasting color or black for the stroke.
EXTRA MATERIALS
- Different colors of thread go together with your fabric choices.
- Small scissors.
- Steam-A-Seam.
- Tweezers.
- Hand needle.
- Fabric marker.
CUTTING INSTRUCTIONS:
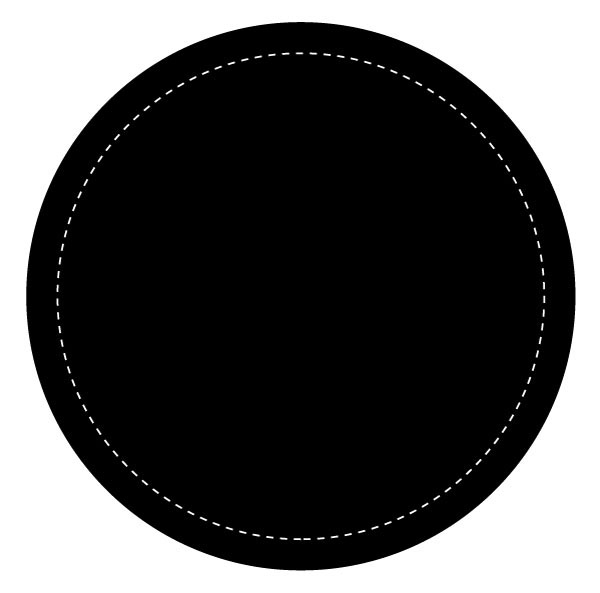
- One (1) Template circle from each fabric.
INSTRUCTIONS:
- Feel free to draw your own pattern or use ours.
- Take the six circles needed for the blue flower, each circle will be one layer of the flower.
- Start placing and aligning the circles together in the order ABFCDE.
- Topstitch all the way around the circle as close to the edge as possible to keep all the fabrics together, no further than ¼” from the edge.
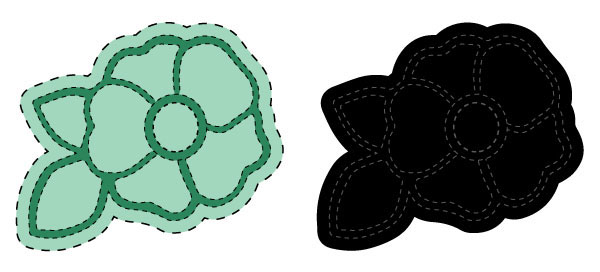
- Place the template flower on the top of the layers of circles, align it to its best position and then sew on both sides of the darker green as shown in the diagram below.
- Cut the sewn template and carefully remove the paper after.
- Now, it’s time to start carefully cutting the layers of fabric using small scissors to reveal your flower.
- Every time you are cutting a layer of fabric you want to make sure that you are cutting just that layer and that you are not grabbing any other layers underneath, I used my tweezers and hand needle to make sure I wasn’t grabbing any layers I wasn't supposed to.
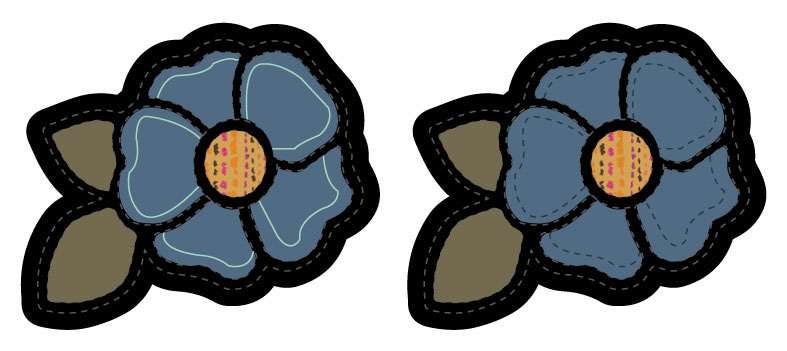
- Start cutting fabric A inside the stigma, leaves, and petals, to reveal fabric B underneath.
- Since fabric B is the one we are using for the leaves, you don't want to go further with it.
- Move on with the stigma and petals.
- Again, make sure that you are cutting just the next layer.
- Use your small scissors to cut fabric B inside the stigma and petals, to reveal fabric F underneath.
- Since fabric F is the one we are using for the leaves, you don't want to go further with it.
- Move on with the petals.
- Use your small scissors to cut fabric F inside the petals, to reveal fabric C underneath.
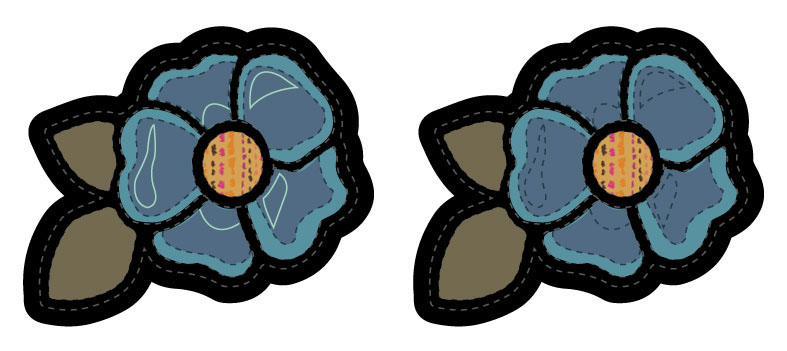
- To create some highlights to your flower, use your fabric marker to free-hand draw where you’ll like to expose the color underneath to create some highlights.
- Stitch on top of the drawn line with a blue contrasting thread.
- Use your small scissors to cut fabric C inside the petals, to reveal fabric D underneath.
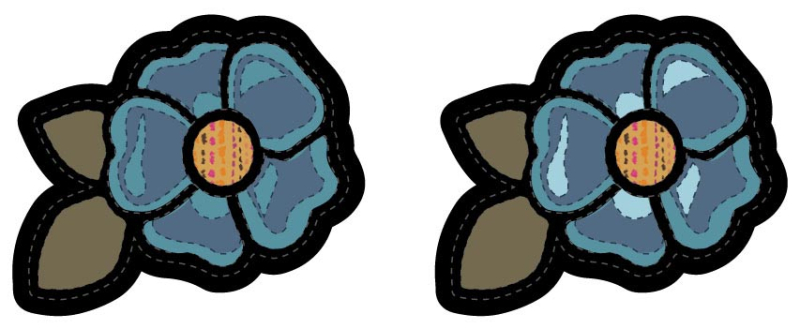
- Draw one more time inside the petals the last layer (fabric E)
- Stitch on top of the drawn line with a blue contrasting thread.
- This time you’ll need to cut two layers of fabrics (C&D) one by one to reveal fabric E.
- Use your small scissors to cut fabric C inside the petals, to reveal fabric D underneath.
- Then cut fabric D to reveal fabric E underneath.
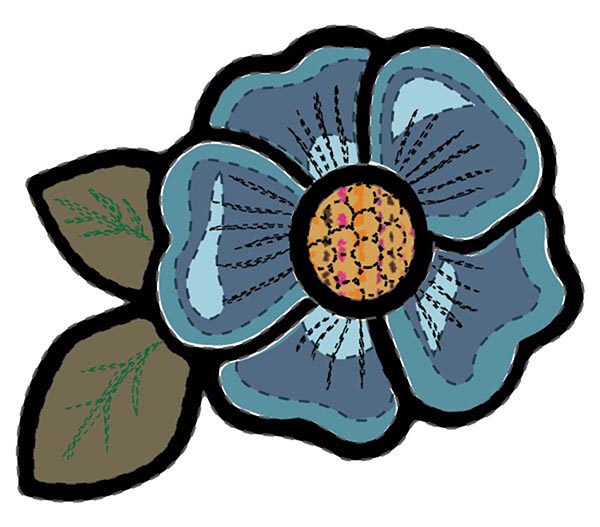
- If you'd like, you can just leave the flower as it is now, or if you feel like taking an extra step add details like beads and sequins, or also you can draw details with your sewing machine or hand stitching.
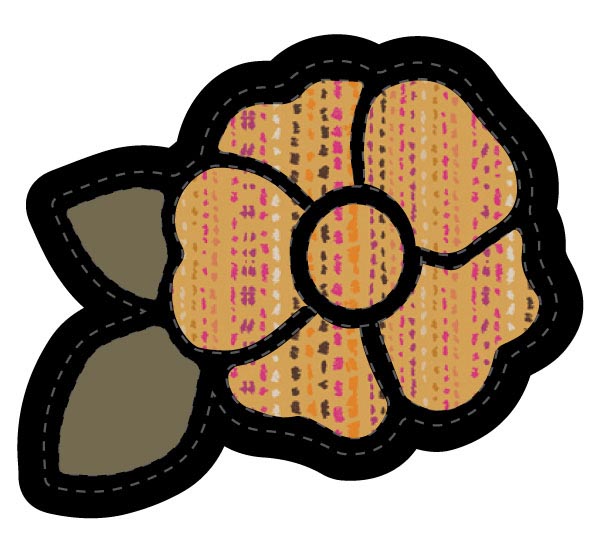
- To finish your patch, trim the excess fabric around the flower patch and leave the raw edges exposed.
- Voila! Your patch is ready to be pasted on any fabric surface that you’d like (backpack, jeans, jacket, tote, pillow, etc..)
- You can hand stich or machine stitch it.
The options with this technique can be applied to any template you create! Have fun with it and play around with the different colors, and applying it to any patchwork project!
Since quilted coats have been trending on Instagram, I got the idea to add them to my coat. I thought it would be perfect since my coat neutral and these flowers would really pop! But I also can see these applied to your quilts, table runners, and quilted pillows as well, especially since spring is around the corner.
I hope you enjoyed this tutorial and if you make this project, please tag us on social media under the hashtag #artgalleryfabrics, the AGF team and I would love to see it.
Until next time,
Happy sewing!
-Jannelle







Leave a comment