Hello, everyone!
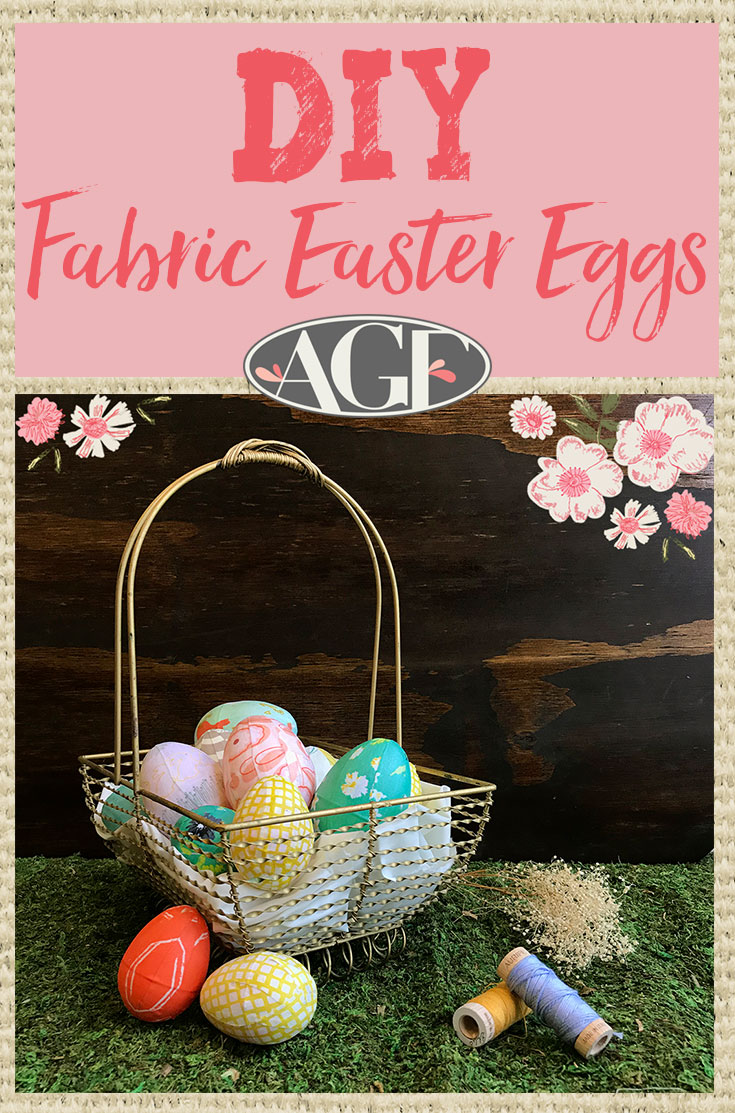
How is everyone doing? Can anyone believe Easter is right around the corner? I remember growing up, my parents would take me to all the local parks to join an Easter egg hunt! Did you know the state of Florida held the largest Easter egg hunt, where 9,753 children searched for 501,000 eggs? Crazy, right? If you plan on decorating some eggs on Easter with your kids, I have a project for you— AGF style!
Let's begin, shall we?
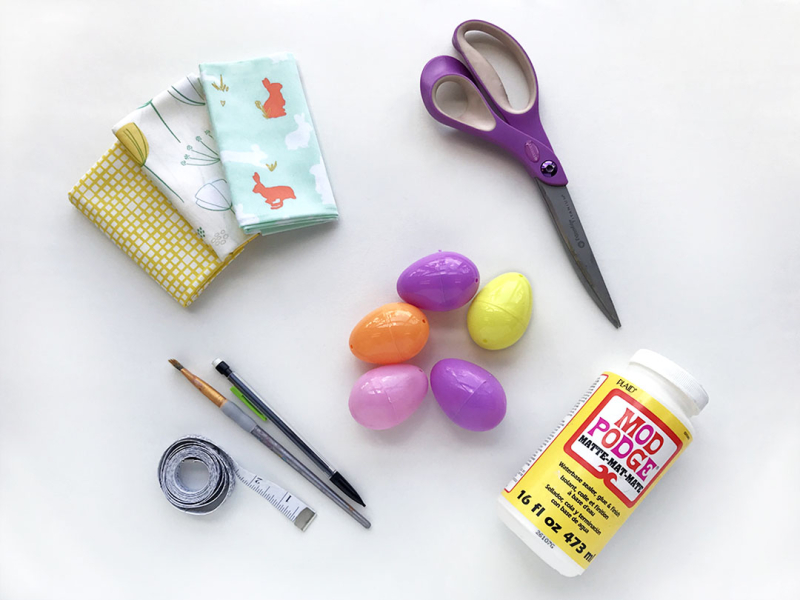
Here is what you’ll need:
-
Fabric
-
Brush
-
Plastic eggs
-
Mod Podge
-
Scissors
-
Measuring Tape
-
Pencil
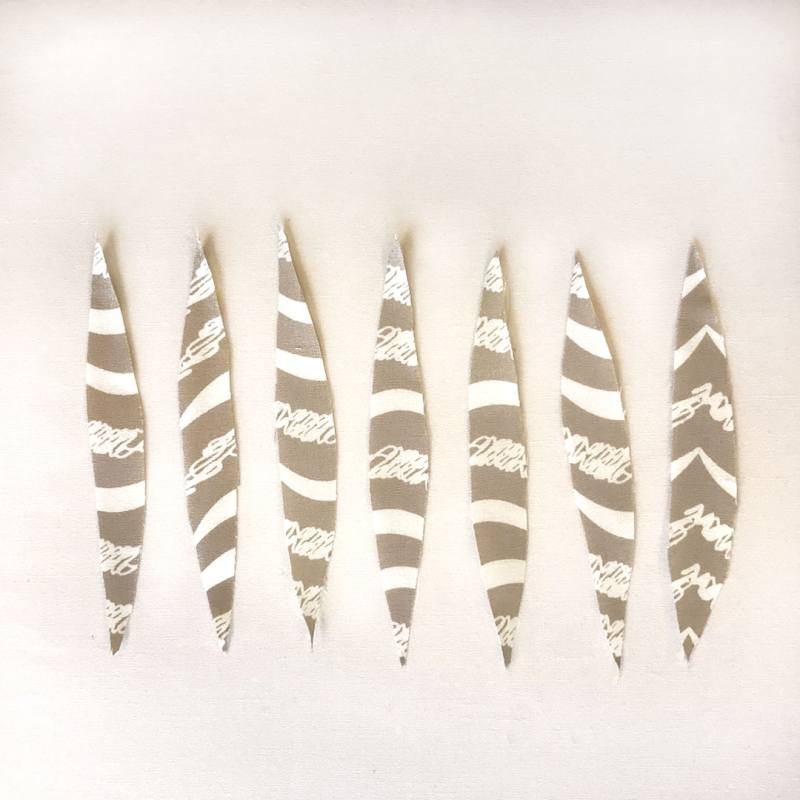
1. After some trial and errors, I figured the best way to cut the fabric was in strips with pointed ends. Measure your egg from top to button and mark it with a pencil on the backside of the fabric so you know how long you should cut your strips. Also, a tip is to cut the strips close to each other so when you start putting it on the egg, the pattern won’t be distorted.
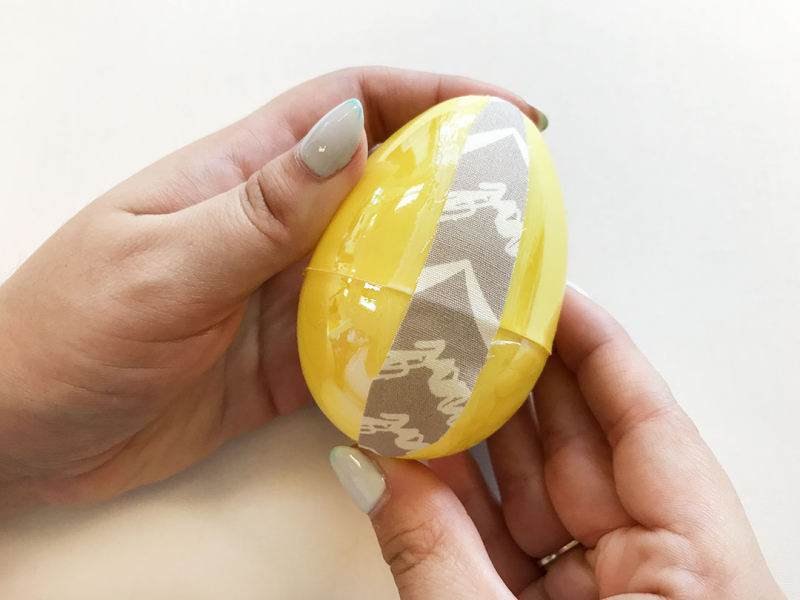
2. Start by adding Mod Podge to the egg and placing fabric on top.
3. Make sure to seal it, to prevent it from getting dirty! Feel free to use the Mod Podge with the glossy finish if you want that effect on your eggs.
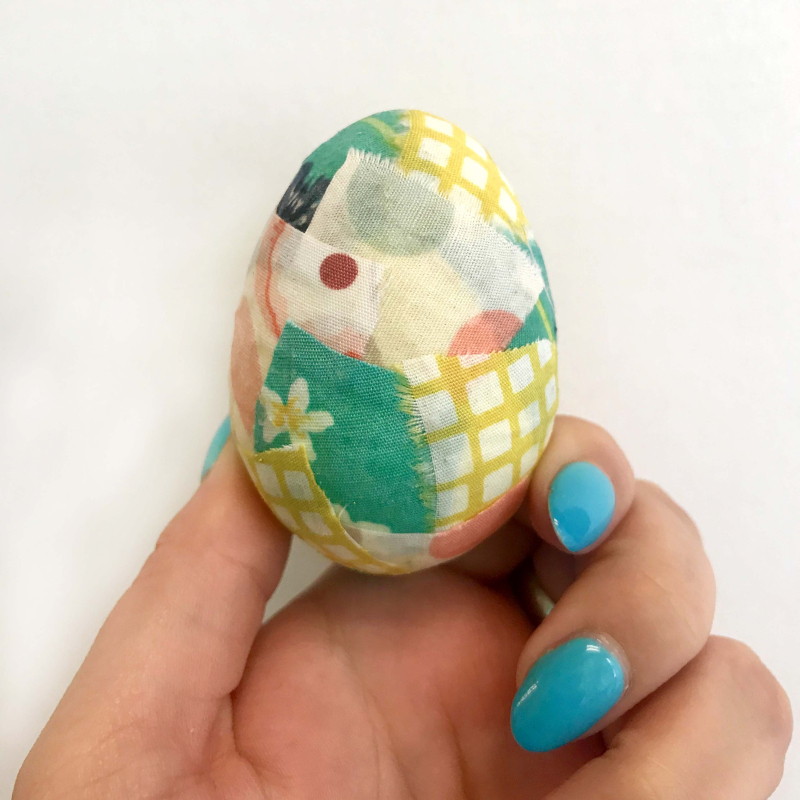
Optional: Use your scraps to make a cool design like this! Experiment with different shapes and colors to make your own unique design!
Voila, you are done!
If you read Sophia's Easter Brunch blog, this can be a great centerpiece for your dining table! Read more about how you can host a beautiful Easter brunch.
It was a tradition in my family to go Easter egg hunting and I hope this DIY becomes a tradition so you can create wonderful memories with your kids!
If you are thinking “these fabrics are so cute!”— it's your lucky day because I am giving them away! Please fill the form below and I will pick a winner on Friday, April 6.
UPDATE: THE WINNER IS NANCY PAGE!!
Best wishes,
Jannelle
//s3.amazonaws.com/downloads.mailchimp.com/js/mc-validate.js
// <![CDATA[
// <![CDATA[
// &lt;![CDATA[ // &amp;lt;![CDATA[ (function($) {window.fnames = new Array(); window.ftypes = new Array();fnames[0]=&amp;#39;EMAIL&amp;#39;;ftypes[0]=&amp;#39;email&amp;#39;;fnames[1]=&amp;#39;FNAME&amp;#39;;ftypes[1]=&amp;#39;text&amp;#39;;fnames[2]=&amp;#39;LNAME&amp;#39;;ftypes[2]=&amp;#39;text&amp;#39;;fnames[3]=&amp;#39;MMERGE3&amp;#39;;ftypes[3]=&amp;#39;text&amp;#39;;}(jQuery));var $mcj = jQuery.noConflict(true); // ]]&amp;gt; // ]]&gt;
// ]]>
// ]]>




Leave a comment