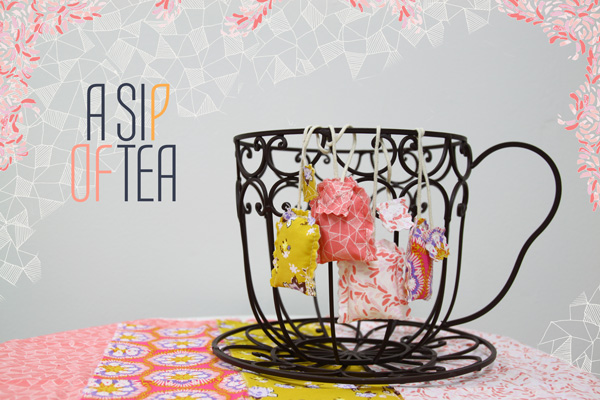
Here's a really fun one for your weekend. We've seen these around Pinterest for
a while and were inspired to make a handful of our own with a scented twist!
Stuffed within these tea sachets is dried lavender. We chose this calming and
clean scent but you can use a variety of things like dried rose petals, orange
peel, or mixed potpourri which can usually be found in the candle section of
your favorite store.

These
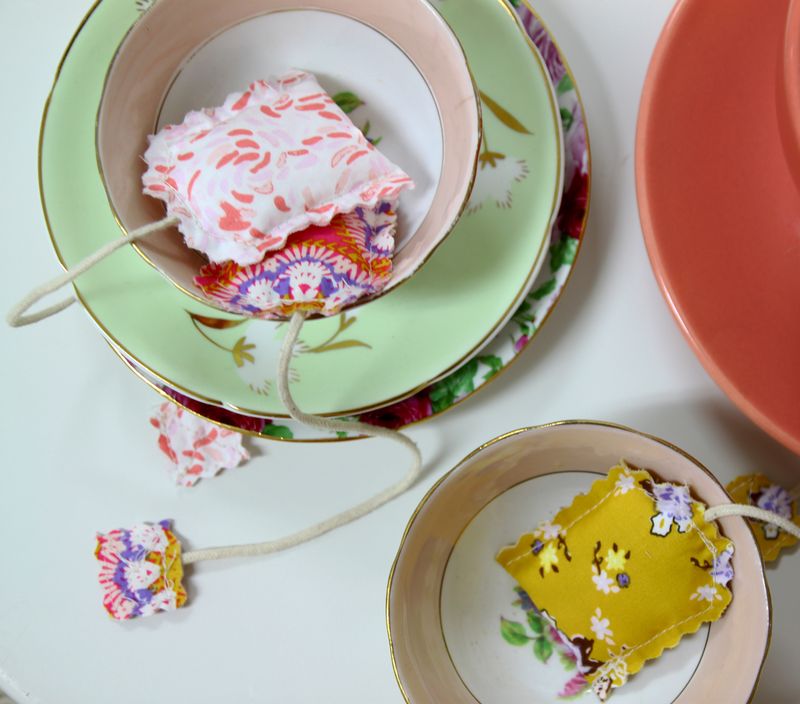
are cute and inconspicuous little things to have anywhere you’d like added
freshness. Hang them, tie them, or use them as table decorations for your next
tea hour, like we did. You could even use them as bookmarks. This is a perfect
project for using the extra fabric we all have in our designated scrap
bins.
Please
follow along our super simple and quick tutorial to make your own tea sachets.

pictured fabrics: bohemian charms honey (bijoux), dancing harvest guava (bijoux), petite petalie pearl (luxe in bloom), crystalline reef (luxe in bloom)
Here's a list of fabrics and materials used:
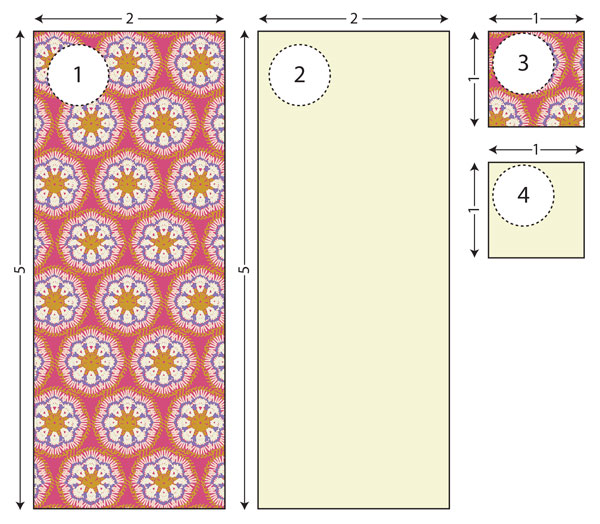
- (1) 2” x 5” rectangle of Dancing Harvest Guava (Bijoux
collection) - (1) 2” x 5” rectangle of fusible
- (2) 1” Squared of Dancing Harvest Guava (Bijoux collection)
- (2) 1” squared of fusible.
- Scented potpourri of your choice
- 6” shoestring
Let’s start by adhering fusible on top of
all our fabric pieces. We used iron-on fusible.
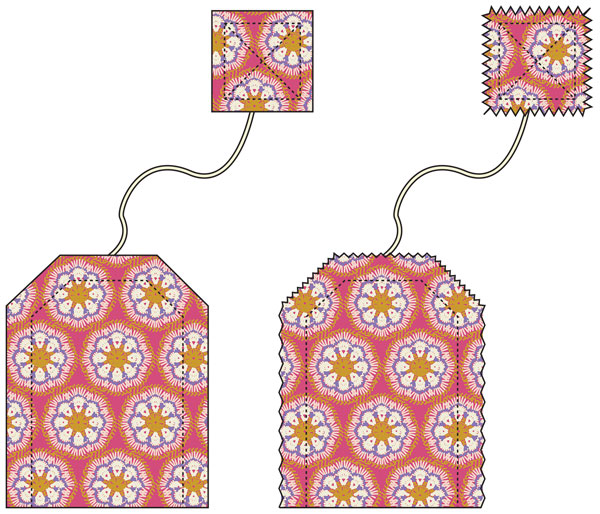
Now, take piece 1 and fold it in half.
Measure and mark ½” from each side of the top corners and make a diagonal cut
along your markings, as shown on the diagram below.
Next, sew in about ¼” all around the edges of your
sachet, leaving the very top open—this is where you’ll stuff in your scents.
Once the scent is in, insert your string at least
½” into the sachet. Sew up your opening, reinforcing your stiches (sewing over
your first line of stitching) if needed.
Lastly, to make the tag on your sachet, you’ll
join the 1” squares–wrong side of the fabrics facing each other and the other
end of your string in between. Sew around the squares a few centimeters away
from the edge and diagonally across the corners.
We finished our tea sachets by trimming the
edges with zigzag scissors for some added interest, but you don’t have to.


Leave a comment