art gallery fabrics

Take Away Your Binding Fears and Bind Like a Pro with AGF 2.5 Edition Binding

AGF 2.5 Edition Binding Fabrics

Hello Sewing Friends, 

Raise your hand if you enjoy the binding process of a quilt or sewing project? That's so great if your hand is up but I know for me and many others the binding process can get a bit stressful, tricky, and never come out the way you hoped. For years after I started quilting I was terrified of the binding stage and never actually finished a quilting project. Making quilt tops was my jam, starting a new one before finishing the first one and a lot of times working on 4 quilts at a time. What can I say, I like to switch it up and keep it interesting! So it's easy to say I have tons of quilt tops in my closets that need to be turned into quilts and be loved and cherished the way a quilt should be, not sitting unfinished, in a closet collecting dust. Which is why I am so excited to start working with AGF’s 2.5 Edition binding. 


Since having my first child almost 4 years ago, (she will be four in June) I have been out of the quilting/ sewing game. I stopped sewing maybe two months before she was born and never really got back into it. I would force myself to do projects here and there but life always seemed to get in the way. Sewing throughout my life has brought me so much joy and comfort in hard times, so not doing something I loved started to weigh heavily on me. Can any one tell me, why do we stop doing the things we love during stressful times?! I know life doesn’t always make things easy and we can easily be swung off course but I am so excited to be back in a space creating and talking to this amazing community of sewing friends. 

I know AGF’s 2.5 Edition binding is going to be a game changer for everyone. When I heard AGF had came out with this unique product I was thrilled to get my hands on it. I was fortunate enough to be able to visit the AGF headquarters in March and was able to play with all of the 2.5 Edition prints. I got lost for hours cutting and folding the strips in all the different ways to show off all the adorable small scale designs. Before I dive too deep into the amazingness that is AGF’s 2.5 Edition, we have an amazing video playlist on Youtube where you can learn the ins and outs of binding with AGF’s 2.5 Edition. The videos show the process of binding a quilt, gives you an idea of the variety of print options, and will spark creativity for your next sewing project. 


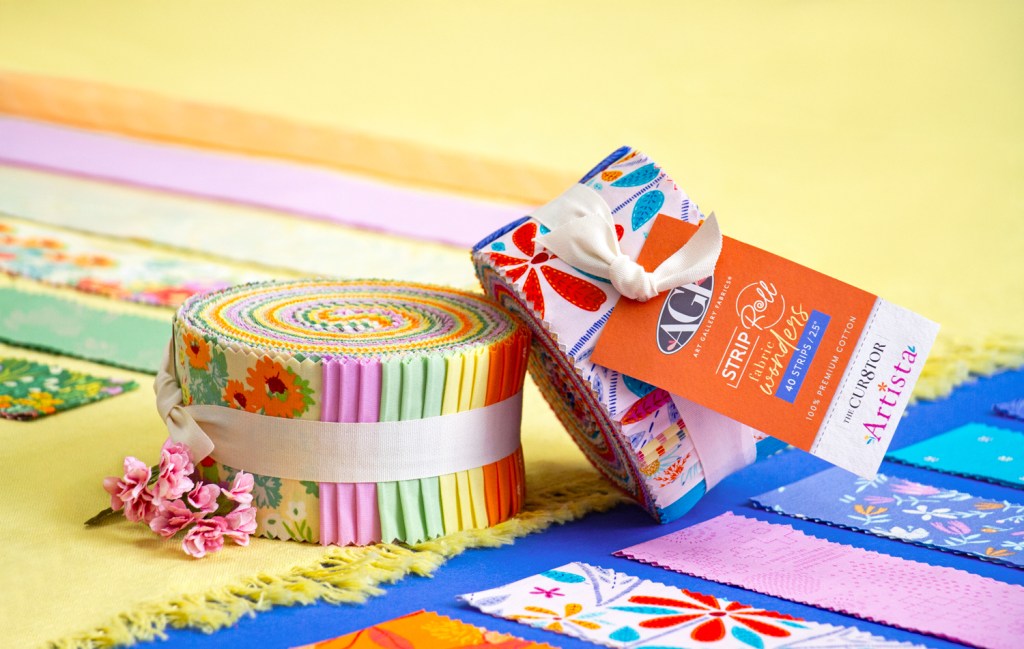
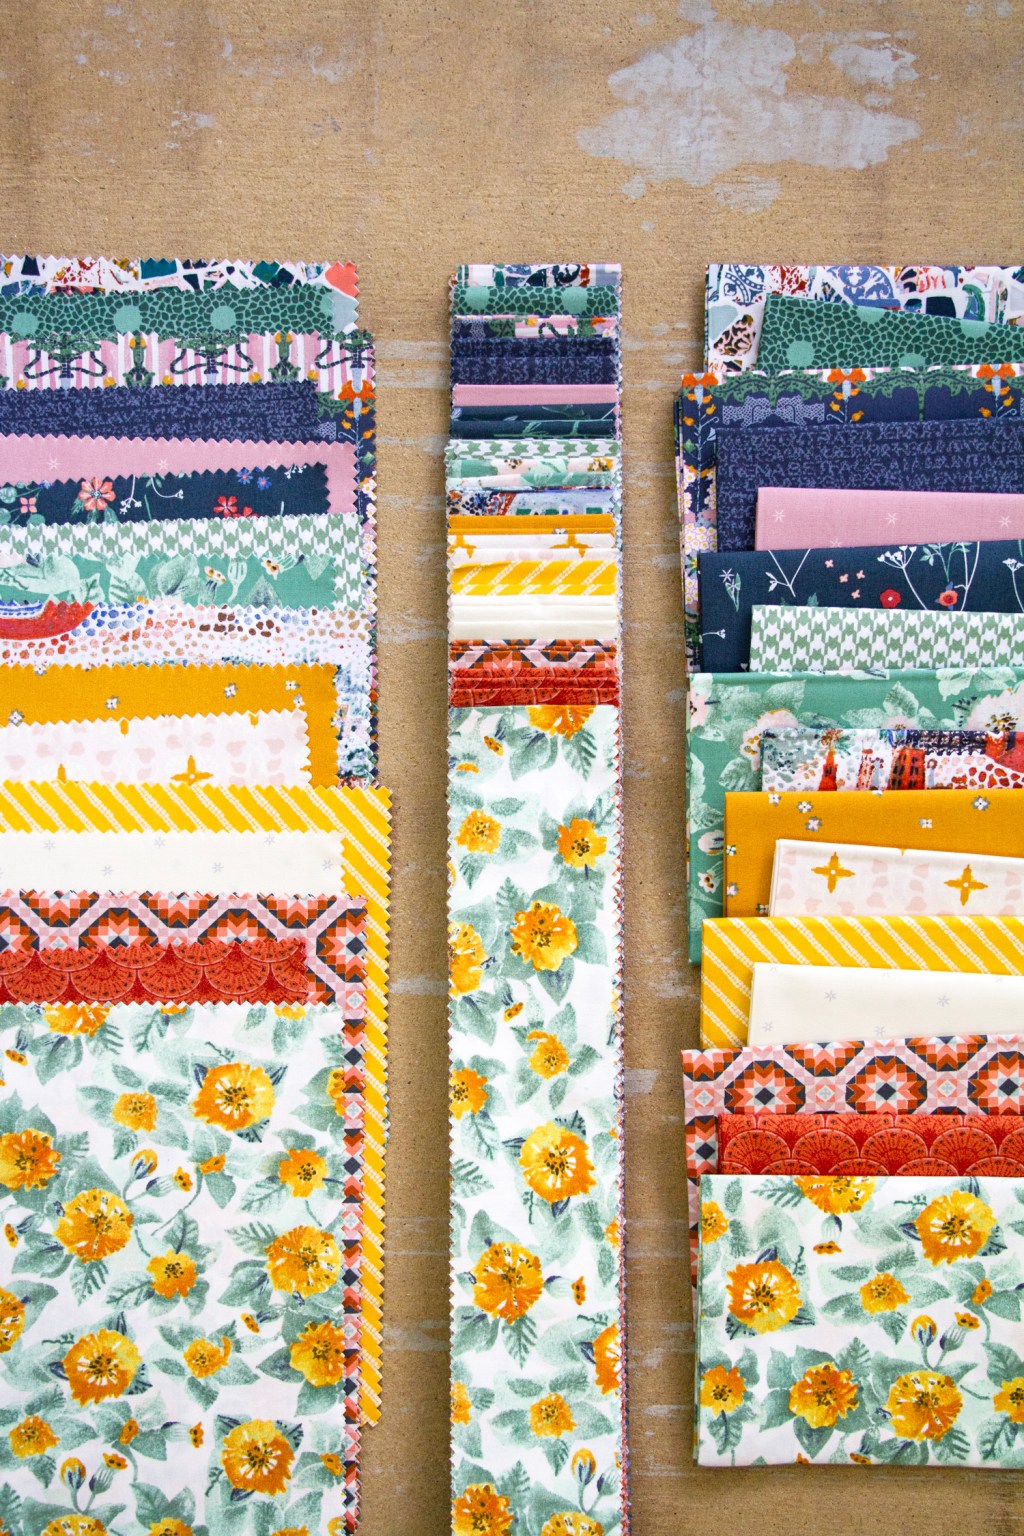
What struck me most about this revolutionary product was how versatile it was. You can choose the prints that show up on the back and front of your projects and I loved that it was 2.5 width, my only and favorite way to bind! Also there are so many different 2.5 prints to choose from at least 40 prints and counting. For many of our new collections we release we come out with a binding curated just for that collection as well as previously designed options that were created to mix and match back perfectly with our previous collections that you may own.

Another thing that fascinated me so much about the 2.5 Edition is it can be used for so much more than binding. When I was going through the 2.5 strips I had cut I saw how you can use it as trim, embellishments, piping, strip piecing projects, wherever you want to add a splash of detail to in any project you are working on to take it to the next level. Check out our 2.5 Edition Fabric Lookbook below for all the inspiring ways to use it in your projects. 


I literally can’t say enough great things about AGF’s 2.5 Edition except that you need to touch it and play with it yourself to really grasp how amazing it is. Below is a list of shops that carry our 2.5 Edition Binding so you can get your hands on some today. I am so delighted to see what you all think, so please comment below or reach out to us with all your thoughts and make sure to show off all your makes using our 2.5 Edition! 

Want to get into some cute fun projects right now using AGF’s 2.5, check out this fun tutorial with tips and tricks for binding curves making this useful potholder to add a pop of homemade into your kitchen. 

As I continue to use AGF’s 2.5 Edition in my upcoming projects I would love to take you on my journey showing clever hacks and techniques in using this product in all your quilting and sewing projects! This fool proof way of binding has got me feeling extremely confident and ready to tackle all those unfinished projects! 

Until Next time, 

Happy Sewing! 


Summer Jubilee Sew Along Week 4

Hi Quilters, 

Welcome to Week 4 of the Summer Jubilee Sew Along!

Don’t have your kit yet? No problem — get yours here,  and jump into the fun!

You've done all the heavy lifting.  You've made all the units and are ready to begin assembling the Rosette Blocks.  Hip hip hooray!

From here on out, it's just sewing.  That's the best part, am I right?

The only thing you really need to watch for now is making sure you don't flip around any pieces.

Keep reading, I have a couple of easy, quick tips to help with this.

First, I like to make an entire block first to use as a guide for my other blocks. Once I've assembled the whole block, I snap a quick photo with my phone.  For some reason, I find that I'm much better able to identify any turned around pieces when I see a block in a phone.  I've heard the same from many of my quilting friends.

Once I have confirmed that everything is in the right place, I hang it up over my sewing machine and use it as a guide for organizing all the pieces in my block.

Summer Jubilee Sew Along- Week 4 Rosette Block Assembly_Final

Next, I like to use a tray to lay out all my pieces in the right order and with the right orientation.  I still use my first block as a guide as I go, but it makes the process go faster than if I were grabbing from piles.

If you hadn't used the coloring page on page 11 of the pattern, now would be a good time to go ahead and color that in.  This will help you be sure the blocks turn out exactly as you had in mind.

I hope you enjoy this week.  I find this to be one of the most satisfying weeks.  You have worked so hard, and now you will begin to see some real progress.

Please share pics of your blocks on the Facebook page or on Instagram.  Be sure to use hashtag #SummerJubileeSAL and tag me @midlife_quilter so I don't miss it.  If you have a private page, those tags don't work, but you can always send me pics in messages.  Seeing your work come to life is such a joy for me!


***Now to this week's prize!***

This week's prize is a 22" x 60" wool pressing mat by Novodon.  I received one of these mats earlier this year, and it has been a game changer.  You can put it on a table, and it makes pressing tops so much easier.

IMG_8433

To enter the giveaway:

Sign up to the Summer Jubilee Sew Along: Click Here
If you're on Instagram - Follow me @midlife_quilter & @artgalleryfabrics
If you're on Facebook - Follow me Midlife Quilter & Art Gallery Fabrics

Leave the comment: "Summer Jubilee Sewalong" right here in the comment section of the blog.

I'll be drawing a winner first thing on Monday, May 26th. Entries close at midnight, May 25th.

Come join our public Facebook group! It’s the perfect place to share your fabric pulls, introduce yourself, and ask any questions along the way. Click below to join.

Join the Facebook Group

Don't forget there is still time to order a kit!  You can shop here.

See you again, 

Victoria Newmyer & Art Gallery Fabrics


Sunny Brim Bucket Hat Tutorial-Sew for Summer with Tangerine Fabrics by Art Gallery Fabrics

Hello Markers, 

It is warming up here in Minnesota and that means more time spent in my garden and walking around the lake! So it's time to prepare for those sunny, warm weather days ahead! The most fashionable way to protect yourself from the sun rays is by making the Sunny Brim Bucket Hat! This easy to follow PDF pattern and youtube video was an excellent resource for me to use to create my first EVER hat using the retro motifs in Tangerine Fabrics by AGF Studio


Oh, before we go any further, this hat is reversible so you can match it back with so many more Summer outfits! I used Wind Dance Blaze and Striped Field to create my bucket hat! My favorite side is the peachy hues and pops of lavender in the Wind Dance Blaze print, it definitely radiates sunshine and happiness! For a more basic look I could turn it around and wear the stripe side. 

Hat-and-fabrics

The first step was to cut out the pattern pieces and tape them together. Then cut out one pattern piece in each of my fabrics and batting. Quilting my pieces was the longest step but well worth it. I quilted at ¼” seam allowance with a matching orange shade of thread. I love how it really made things pop! Next step was to attach the quilted brim, body of hat and top. Then attach the remaining body of the hat and top in the Striped Field fabric. The last step was to attach those pieces together and flip your project through the unsewn portion, a quick slip stitch and you're done! This can definitely be finished in an afternoon sewing session and is such a rewarding make. Once you get your first hat finished you will be obsessed and well on your way to making one for the whole family! I know I want to try to modify the pattern to make a smaller version for my almost 4 year old daughter. 

Striped-hat

Looking for more project ideas made with Tangerine Fabrics. Check out our Fabric Lookbook for inspiration! 

I would love to see all your beautiful bucket hats made with AGF fabrics so much, so make  sure to use the hashtag #AGFfabrics or #AGFTangerine if you make one with this collection too! 

Until next time, 

Happy Sewing!